This is our brief guide on how to use Schemati, our schematic management system.
We have acknowledged the many issues with the existing schematics system and built Schemati to replace it. The schematics system is popularly referred to by the name “Schemati”. The aim of Schemati is to make managing one’s schematics easier, and to provide an easier way for individuals to access their schematics.
Making schematics
Not much has changed when it comes to making a schematic. To make a schematic from ingame, ensure your region is selected and copied to your clip board, then run //schematics save <filename> or //save <filename>.
Loading Schematics
Similar to making schematics, loading ones are as they were before. Simply run //schematics load <filename> or //load <filename>.
Modifying Schematics
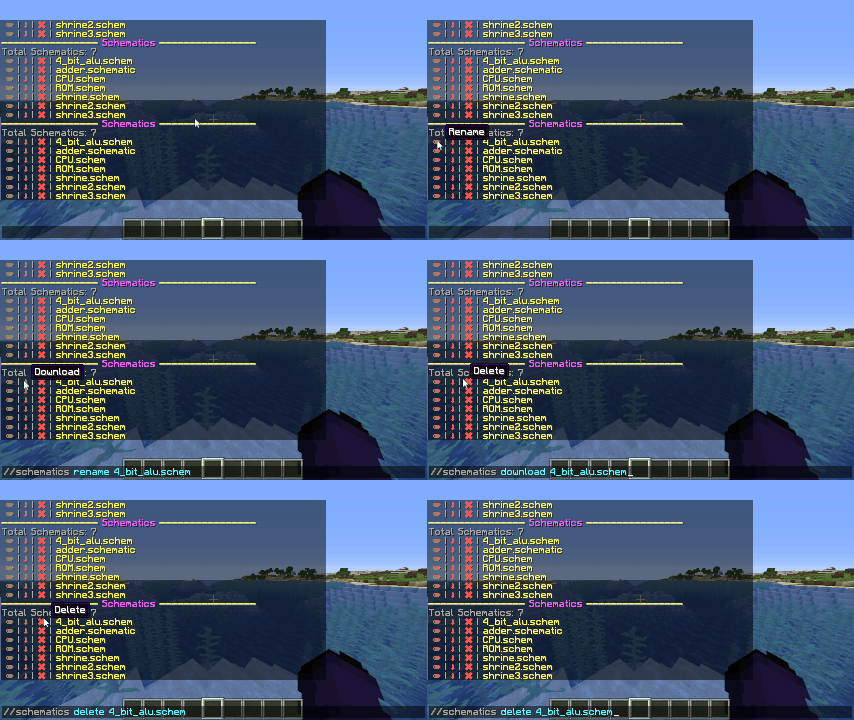
From ingame, modifying schematics is made easy first by running //schematics to view all of your schematics and selecting your modification option, or by running the modification commands individually.

Using the website
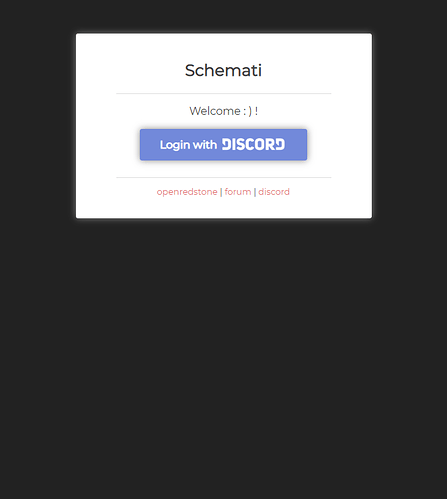
To use the website, log on to schemati.openredstone.org and proceed to log in using Discord. This assumes you have already linked your Minecraft and Discord account.
To upload a schematic, click on the “Upload Schematic” button and proceed to select the schematic you wish to upload.
You can also use this page to manage your schematics any which way you desire.
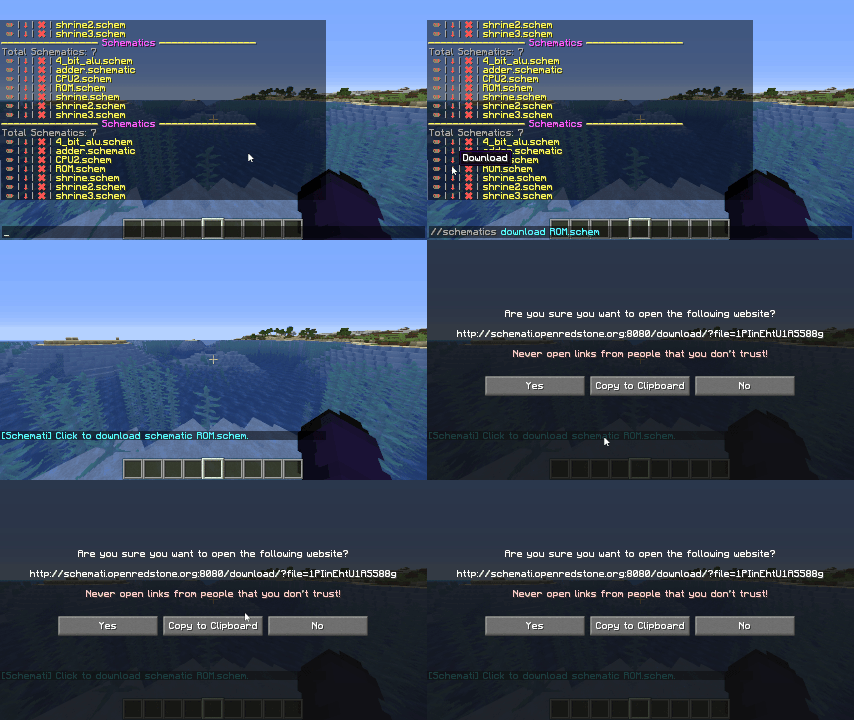
Oh, and one last thing. Did you know you can simply run //download <filename> to download a schematic? This will give you a temporary link that will exist for a few days so you can download your schematic without having to log in. You can also share said link with friends to easily share schematics you have created.

If you have an questions regarding the use of Schemati, don’t be afraid to ask!


